Documentation
Gwen - News and Magazine Ghost Theme
Thank you so much for purchasing our item.
If you have any questions that are beyond the scope of this help file, Please feel free to email via Item Support Page.
Getting Start
Gwen is News and Magazine Ghost . It is built for bloggers, journalists, freelancers, editors, authors, writers, developers. Gwen is fully responsive, light-weight, superfast ghost theme and built with html, css, js.
If you are a programmer, do you write blog or teach programming to people. You can choose this theme. Gwen comes with code highlighting features.
Theme Setup
Gwen theme setup is very easy. If you have already installed a server for Ghost you can easily setup Gwen theme.
If you don’t have server suported with Ghost, you can set up reading Ghost Install. When you have the server, follow the instructions for setting up the theme.
The template is based on Bootstrap Framework
Upload the theme
You can upload the theme file from ghost dashboard. to do this
- Log in into your Ghost admin panel.
- Go to settings (design section) and upload “gwen.zip“
- Click Activate.
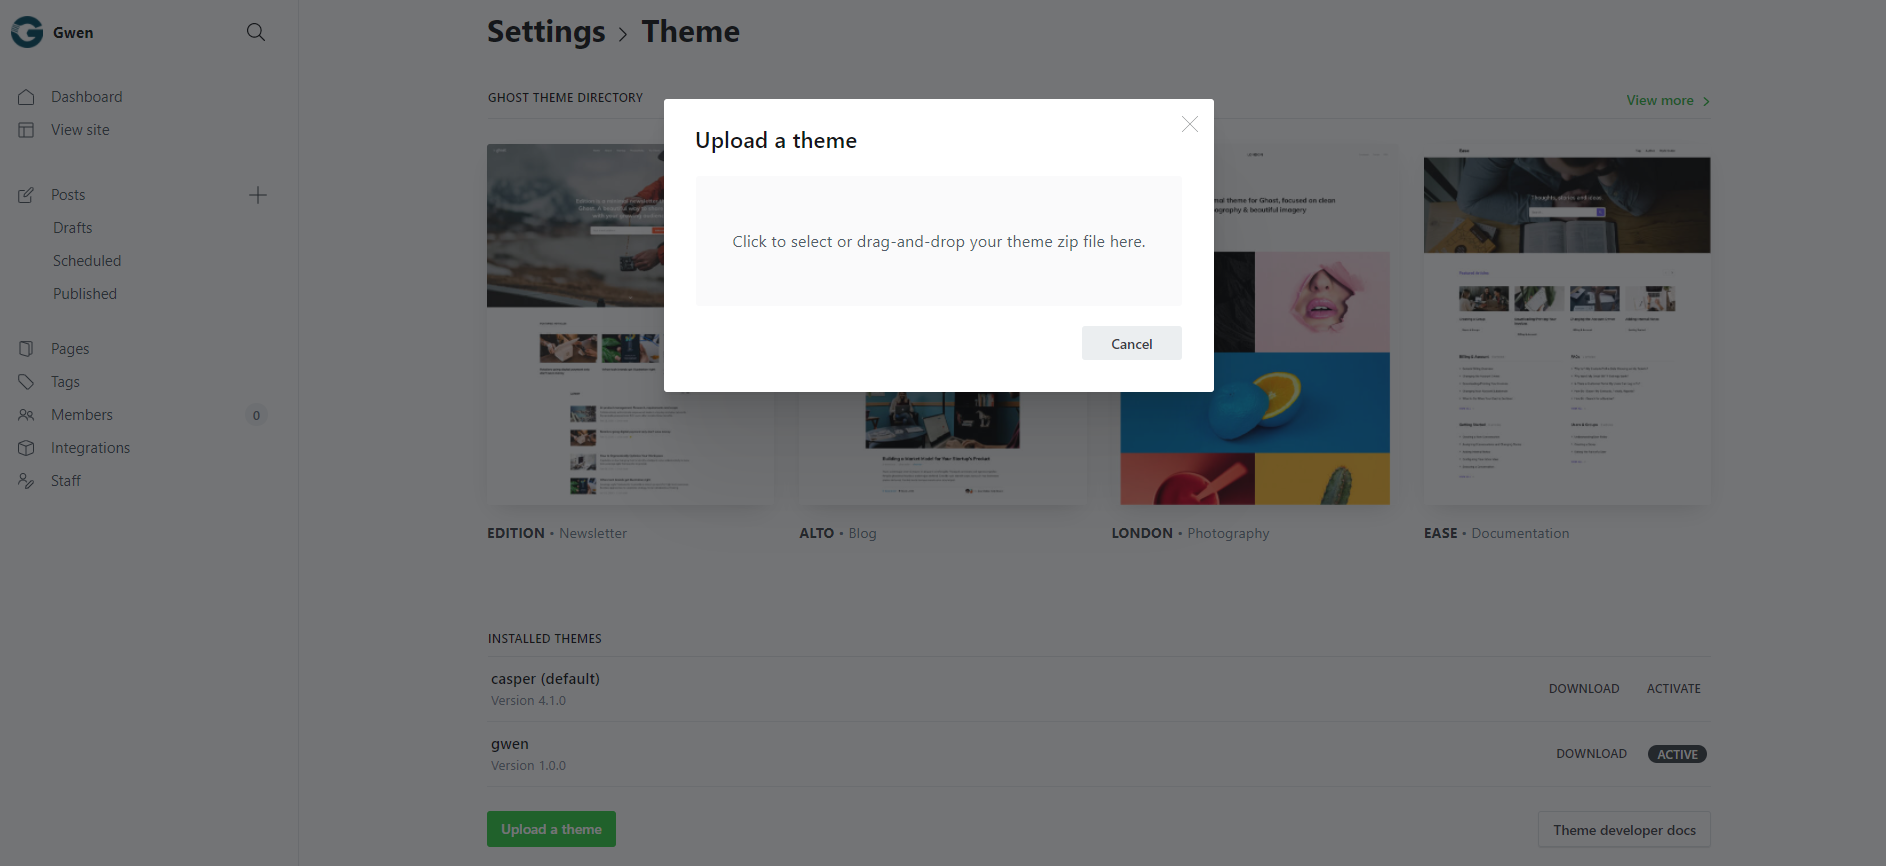
If you need more information, please visit ghost site: https://ghost.org/docs/
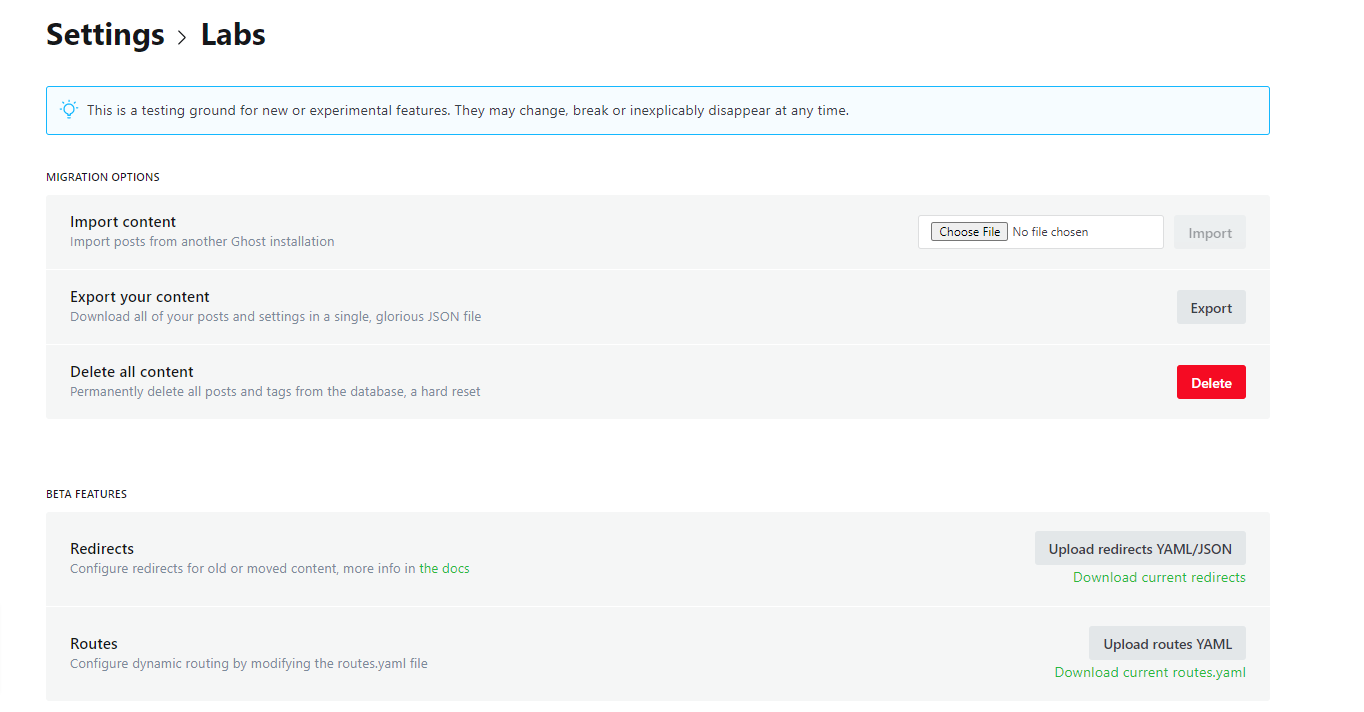
Import Demo Content
There is a demo content zip file that come with the theme "demo_content.zip". You can upload this demo content via Dashboard > Labs > Import content
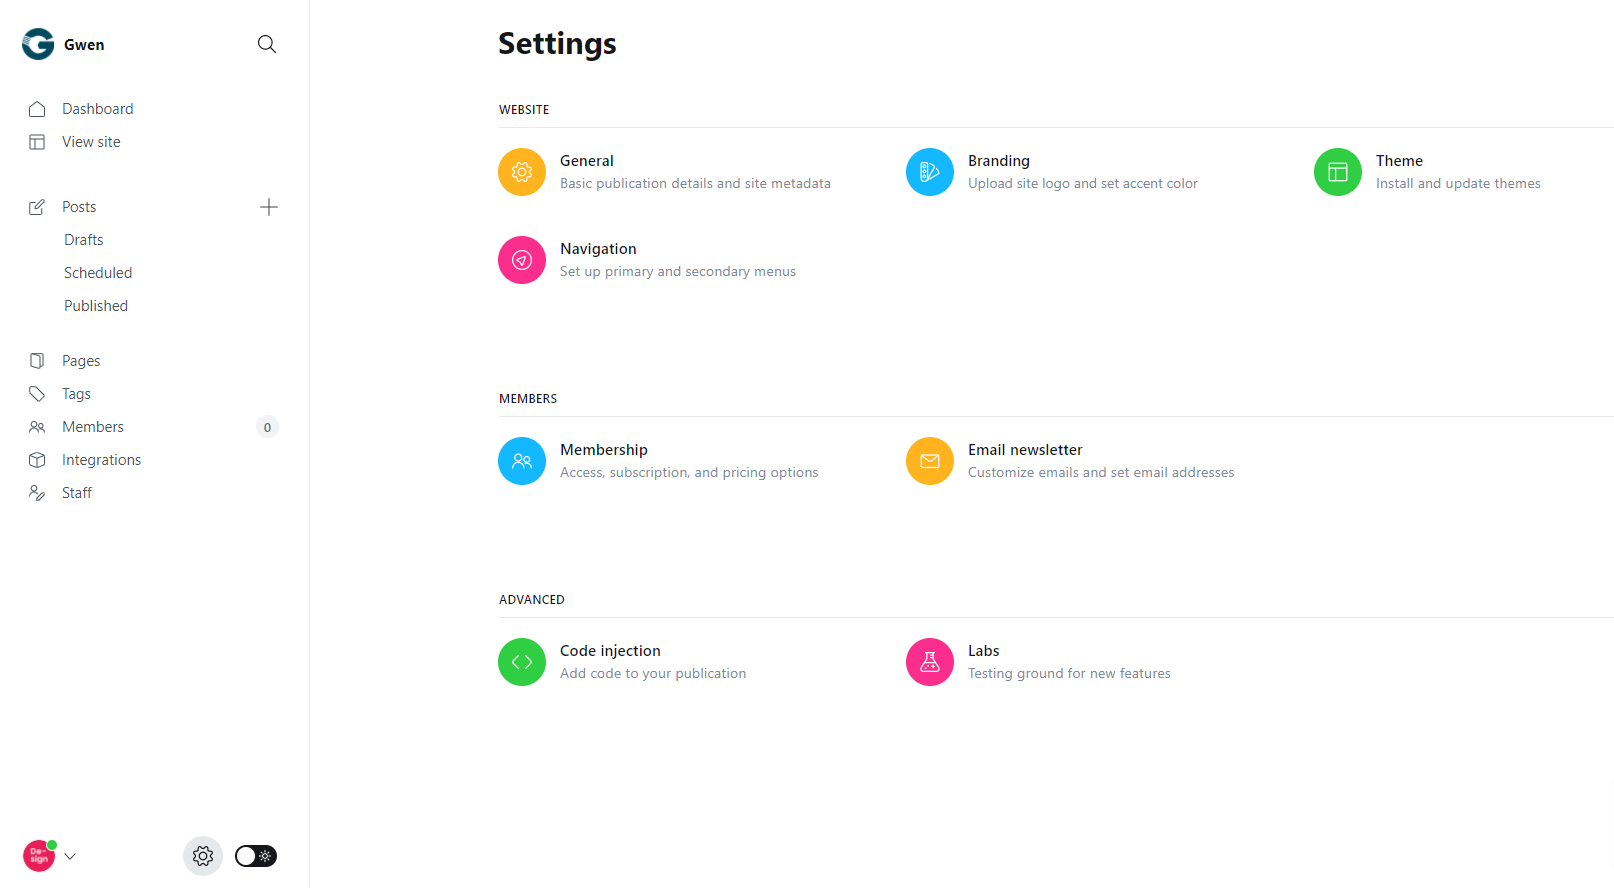
Setting Panel
To access the Setting panel, go to Dashboard > Settings
For more information in details, please visit https://ghost.org/help/topic/setting-up/
Setup Content
Create Post
Ghost has a beautiful dashboard design. You can easily create a post. Go to Dashboard > Posts > New Post
- Post Title
- Post Contents
- Feature image
- Tags
- Authors
Create Page
As like as post, you can create a new page from Dashboard > Pages > New Page. You can add:
- Title
- Contents
- Tags
- Authors
- Feature Image
- Excerpt
- more…
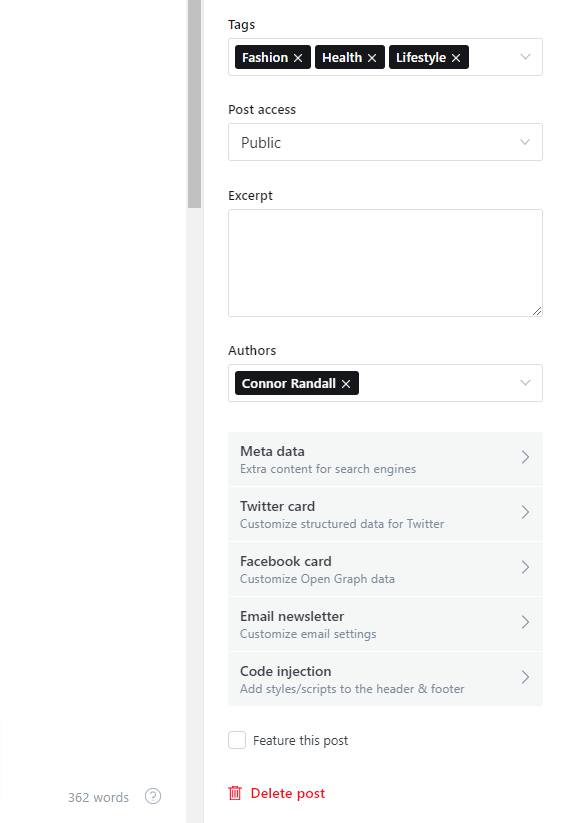
Setup Featured Post
Ghost has awesome featured posts option to show some of your chosen posts as featured for the visitors. To add a post as featured, go to Post > Settings and scroll down. Select the checkbox Feature this post
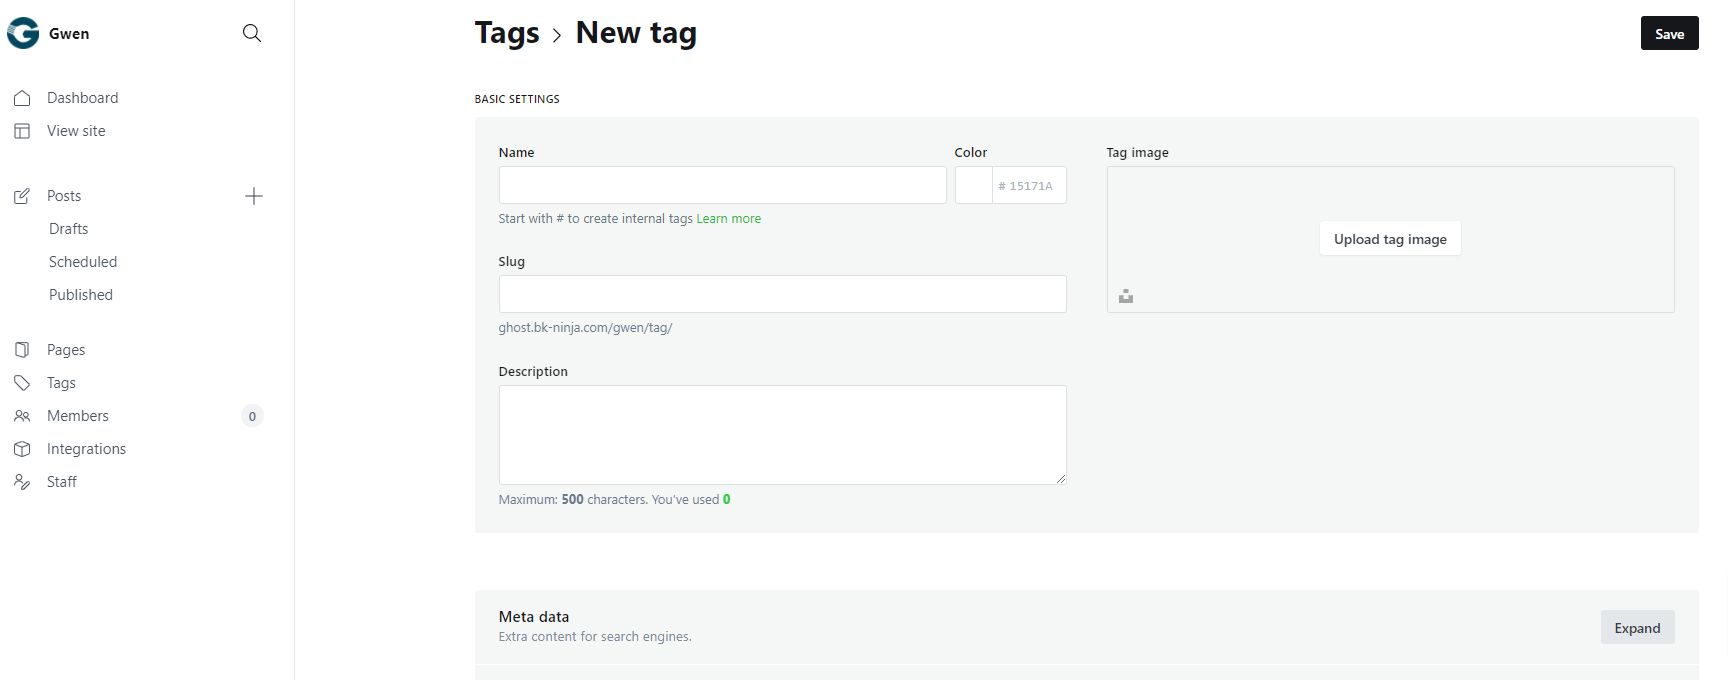
Create Tag
To create a new tag, go to Dashboard > Tags > New Tag
Add/Create Author
You can create multiple author in your site from dashboard. Go to Dashboard > Stuff > Invite people
Click on Invite people and you will get a new popup. You have to add Email Address and select the staff Role. Lastly click on Send Invitation now button. An email notification will be sent to create an account on the specific Role.
Code Injection
Code injection is a great feature on Ghost. You can easily write styles and scripts for your site without editing the theme file. You can add various plugins code here like Google analytics
Here you will two text field for code injections. 1. Site Header and 2. Site Footer
Site Header
If you write scripts on site header, it will show in <head> tag of header. It will load first in your site
Site Footer
If you write scripts on site footer, it will show at the closing of <body> tag. It will load last in your site
Integrations and Custom Integrations
Integrations are another cool feature of Ghost. You can connect a lot of thirdparty plugins or API using integrations. To check the integrations, go to Dashboard > Integrations. You will get some inbuilt integrations and custom integrations options
Custom integrations
To create custom integrations, click on + Add custom integration at the bottom of the page and you will get a popup and add a name of the integration and Create. I have create here Search and Github Deploy integration
Header

For header, we have used {{> header}} partials in folder partials/ header.hbs.. You can open
this file and add your customization to the header.
For Social List
You can add more if you want by edit this snippet code
<ul class="social-list social-list--sm social-list--inverse list-horizontal">
    {{#if @site.facebook}}
        <li>
        <a class="social-item social-item-facebook"
            href="{{facebook_url @site.facebook}}" target="_blank"
            rel="noopener noreferrer" aria-label="Facebook">
            {{> icons/facebook}}
        </a>
        </li>
    {{/if}}

    {{#if @site.twitter}}
        <li>
        <a class="social-item social-item-twitter"
            href="{{twitter_url @site.twitter}}" target="_blank"
            rel="noopener noreferrer" aria-label="Twitter">
            {{> icons/twitter}}
        </a>
        </li>
    {{/if}}
</ul>
Sticky Header Logo
We have used {{> sticky_header}} partials in folder partials/ sticky_header.hbs.. You can change your sticky logo via this file
<a href="{{@site.url}}">
    <img class="logo-image" src="{{asset "images/logo-white.png"}}" alt="{{@site.title}}">
</a>
Home Page
In homepage, you will have the sections.
-
Full Width Section
- Featured Module
- Subscribe Form Module
- Author Slider Module
- Tag List Module
-
Content + Sidebar Section
- Listing List ALT Module
- Listing Grid ALT Module
1. Featured Module
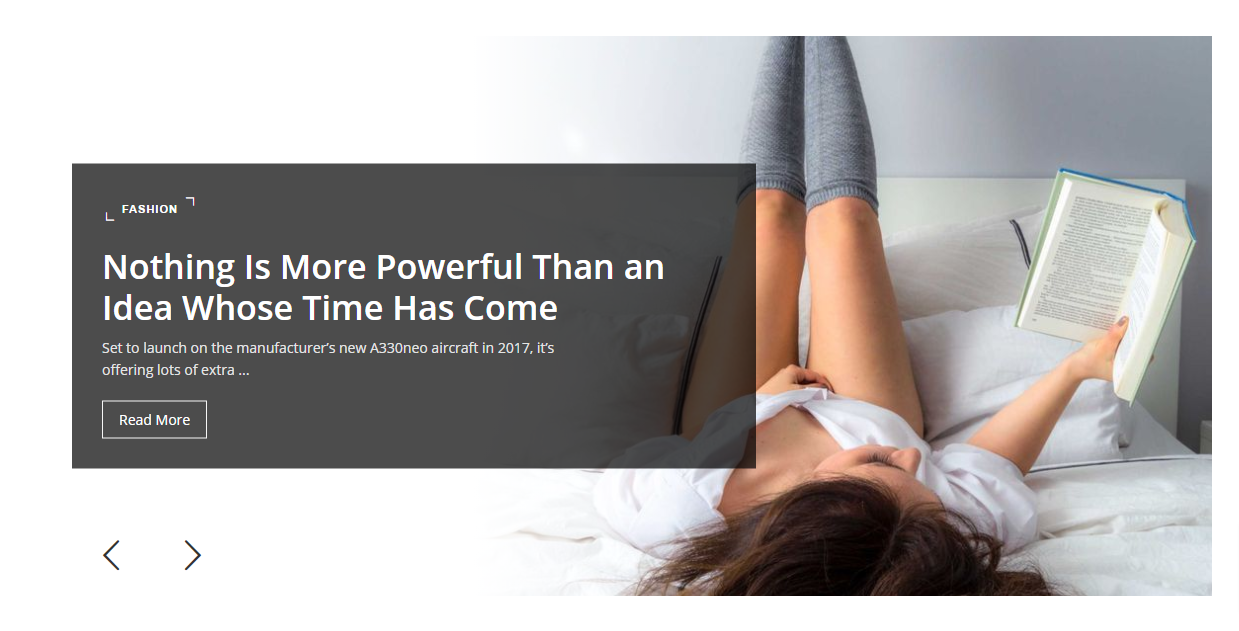
Featured slider post limit is 3. If you want to increase or decrease post limit, go to partials/featured.hbs and edit limit="3".
{{#get "posts" include="tags" filter="featured:true" limit="3" as |featured|}}
If there is no featured post in your website, then this slider will not work
2. Subscribe Form Module
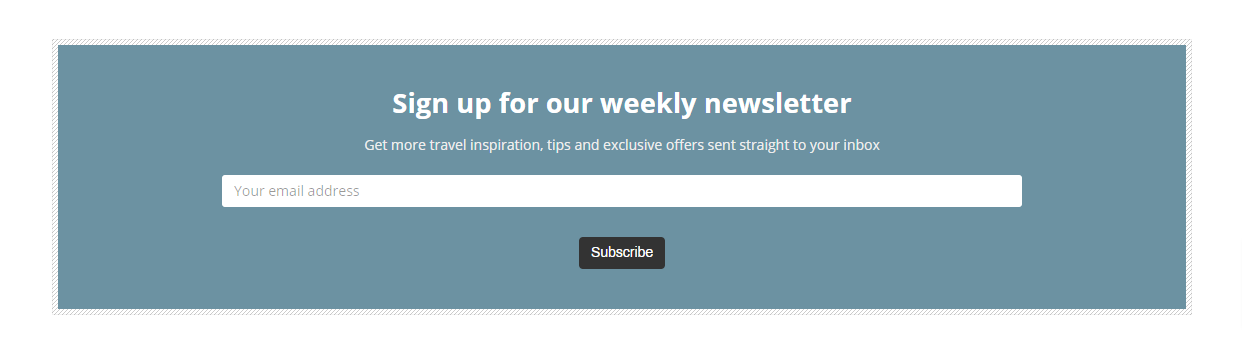
If you want to edit this module, please go to partials/gwen_subscribe_form.hbs
3. Author Slider Module
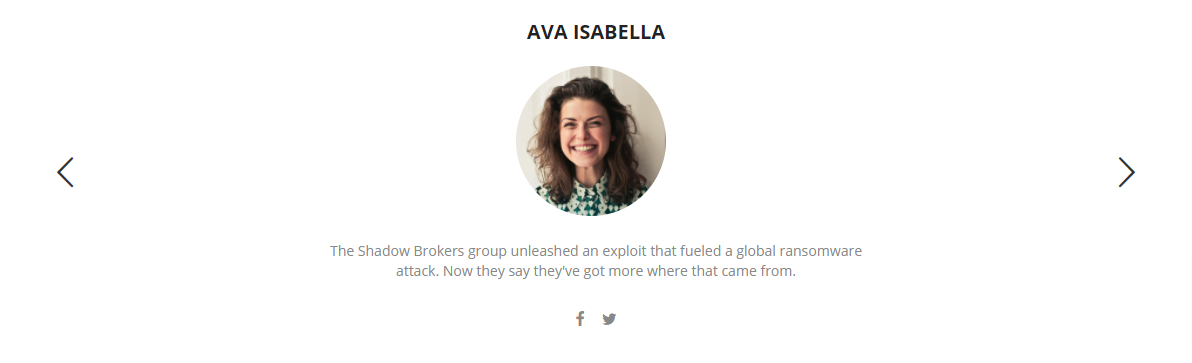
Author slider limit is 3. If you want to increase or decrease author limit, go to partials/block_author.hbs and edit limit="3".
{{#get 'authors' limit='3' }}
If you want to select a specific author, you can use this snippet code and change SLUG to your author slug, separate the authors by a comma ","
{{#get 'authors' filter='slug:-[SLUG, SLUG, SLUG]'}}
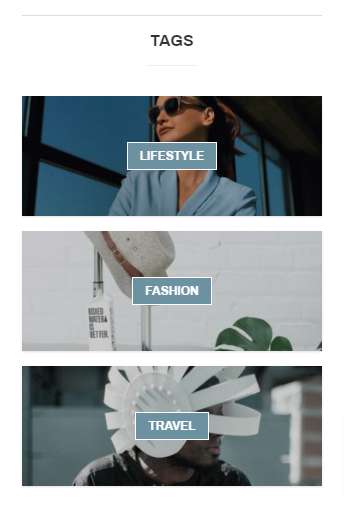
4. Tag List Module

Tag List limit is 3. If you want to increase or decrease author limit, go to partials/block_tags.hbs and edit limit="3".
{{#get 'tags' limit='3' }}
If you want to select a specific tag, you can use this snippet code and change SLUG to your tag slug, separate the authors by a comma ","
{{#get 'tags' filter='slug:-[SLUG, SLUG, SLUG]'}}
5. Listing List Style 1

If you want to edit this module, go to partials/listing_style_1.hbs
6. Listing List Style 2
If you want to edit this module, go to partials/listing_style_2.hbs
Sidebar
We have showed some widgets on Post sidebar
- About Widget
- Vertical Posts Widget
- Tags Widget
- Horizontal Posts Widget
If you want to add/remove the sidebar widget, please go to partials/sidebar.hbs
{{> widgets/about_widget }}
{{> widgets/vertical_posts_widget }}
{{> widgets/tags_widget }}
{{> widgets/horizontal_posts_widget }}
1. About Widget

About widget get the first author of the author list. If you want to edit the author, go to partials/widgets/about_widget.hbs
If you want to select a specific author, you can use this snippet code and change SLUG to your author slug
{{#get 'authors' filter='slug:-[SLUG]'}}
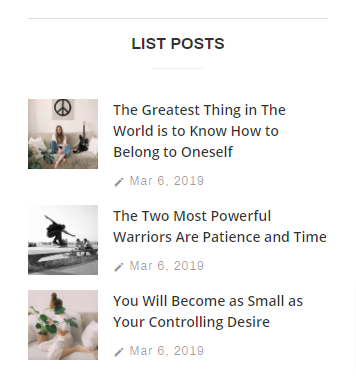
2. Vertical Posts Widget

Vertical post widget limit is 1. If you want to increase or decrease post limit, go to partials/widgets/vertical_posts_widget.hbs and edit limit="1".
3. Tags Widget
Tag List limit is 3. If you want to increase or decrease author limit, go to partials/widgets/tags_widget.hbs and edit limit="3".
{{#get 'tags' limit='3' }}
If you want to select a specific tag, you can use this snippet code and change SLUG to your tag slug, separate the authors by a comma ","
{{#get 'tags' filter='slug:-[SLUG, SLUG, SLUG]'}}
4. Horizontal Posts Widget
Horizontal posts widget limit is 3. If you want to increase or decrease post limit, go to partials/widgets/horizontal_posts_widget.hbs and edit limit="3".
Post Page
To edit Post Page, please open post.hbs
{{#post}}
    {{> content}}
    {{> single-sections/navigation_articles}}
    {{> single-sections/author_box}}
{{/post}}
{{#is "post"}}
    {{> single-sections/related_articles}}
    {{> comment}}
{{/is}}
From here, you can edit/remove the following blocks
- Navigation, and here is the template for this section: partials/single-sections/navigation_articles.hbs
- Author Box, and here is the template for this section: partials/single-sections/author_box.hbs
- Related Section, and here is the template for this section: partials/single-sections/related_articles.hbs
- Comment, and here is the template for this section: partials/comment.hbs
Tag Page
To edit Tag Page, please open tag.hbs
404 Error Page
To edit 404 Error Page, please open error-404.hbs
Translation
The translation file is in locales/translate.json. You should rename this file to your language file: for example en.json for English
A valid language code must be used.Then please go to Dashboard -> Settings -> Publication Language -> then insert your language code to the field. For example: en for English
For more information, please visit: https://ghost.org/docs/themes/helpers/translate/